Gluing an acoustic guitar bridge is one of the most exacting tasks in the final building stage of a guitar that you have labored over all those many week. If not installed perfectly, you can suffer tonal compromise, intonation problems and string registration problems.
Also, in gluing it the traditional manner, you use (3) deep-throat clamps that have to traverse the sound-hole and interior bracing in order to securely clamp your bridge. Also, it is imperative that the glue be quickly and efficiently cleaned up and working around the clamps can be a big headache.If you have ever glued an acoustic guitar bridge.
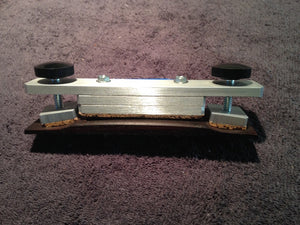
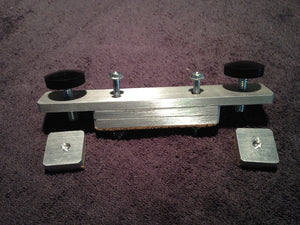
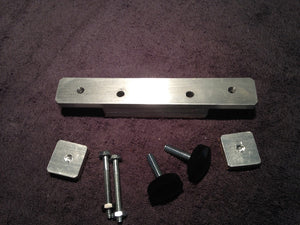
This clamp allows you to quickly and effectively glue a bridge for an acoustic guitar to get that paper-thin glue line we strive for and also allows you to easily work around it to clean-up the glue squeeze-out from the clamping process.
Note: As ALL of our plans are sold as digital downloads, when you complete your plan purchase with us, you will automatically be given a download link to access the plans.
Make and shape the bridge (except for the saddle channel)
Accurately locate the bridge on the top plate and mark it out
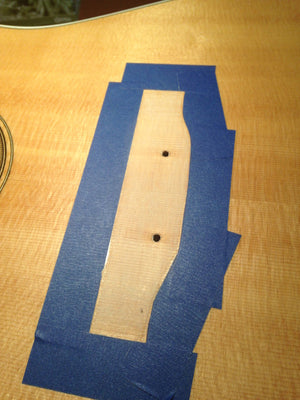
Apply masking tape around the perimeter of the bridge and about 1/32" or so beneath it
Apply double stick tape to the bridge and place it on the top and drill out the 1st and 6th string bridge pins.
Take off the bridge and dry fit the bridge with the bridge clamp bolted in place and make any adjustments required
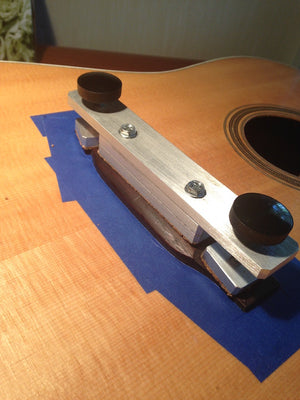
Apply a thin layer of glue to the bridge AND the top and place the bridge on the top and bolt in place
Clamp the bridge with the jig and clean-up the glue squeeze-out
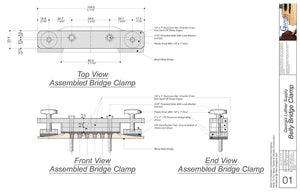
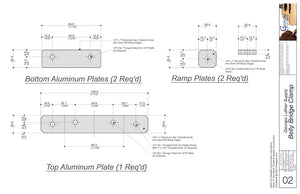
Plans show the assembled jig, along with complete dimensions and notes. Every part of the jig is carefully dimensioned and noted for clarity and ease of construction.
All our digital download plans are dimensioned in both inches/fractional inches and millimeters. The dimension are shown over/under the dimension line and will allow you to work in whichever measurements system you prefer.